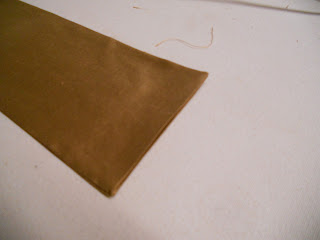
Cut out two pieces of fabric about 8 1/2 inches wide by 17 inches long.
Fold in half, long way, and then stitch the edges together. Do this with both pieces.
Tuck in and press about 1/4" at one end
Fold the short ends towards each other in the center of the back side and tuck the unfinished edge into the end that you have pressed in.
This should measure about 8" overall. Next you will take a needle and thread and do a running
stitch through all the layers just over where you have tucked the fabric in.
Put tight to gather the stitches and make 2 bow loops. Do the same with the other piece.
Now you need to lay the two pieces crossing each other and tack together from the back side.
Now we are going to do a really fun covered button. Use a button that you can cover that is about
1 1/8" in diameter and cut a piece of fabric big enough to cover and wrap around the button.
Tuck the raw edges into the prongs of the button to hold and then pop the back on it.
Next I took a piece of pretty bullion fringe and took it apart to use the cord it was made up of, but you can use any decorative cord you would like.
Now, cover the pretty side of the button completely with fabric tack glue.
Start with one end of the cord and place it in the center and start wrapping it around on the top of the button. Be sure to press it down occasionally to make sure it st adhered to the button.
Keep going until the fabric is completely covered, then snip the end and glue it to the back side so that it doesn't fray.
Now you will stitch it to the front side of your rosette, right in the center where your 2 bows cross.
Next I add a drapery hook to the back with the point outside and the end that would normally hook onto a curtain rod just under the gathers of the back set of loops.
Turn your rosette over where you can see the pretty little thing and poof up the loops to make it pretty.
Now, hook it onto your gorgeous window treatment!
Aren't you proud of yourself?!


