Monday, September 15, 2014

A Refreshing Spot

A kitchen is not  always just a kitcn benchesthen. Sometimes it includes a nice breakfast nook. It may be a place to sit and enjoy your morning tea , while reading the morning news. Nooks serve as a place to do homework, craft projects, gather the family for a meeting or dinner. Sometimes even a peaceful muse, if you are home alone, maybe with a cup of hot cocoa on a winter afternoon. 
 
 
I love this nook! It is peaceful and serene.  A great place where the family gathers.  The window seat has a cushion and a back that can be popped in front of and attached to the windows, so that no one leans against the glass.  A lovely piece of engineering! It is stored in the bench until needed.  The table was a wonderful project that my client decided to undertake, as we weren't able to find just the table we wanted. So he built it! The finish and color are perfection!  Artwork (not well seen in the photo) are all photos the clients took on their many journeys.  It's so much fun to work with such talented people. 

Tuesday, August 19, 2014

Kitchen calm

I have a client that has been in their home for a good many years, and it was time for an update in the kitchen.  The appliances had all been replaced in the not too distant past, and updated to stainless. However the rest was due.


As you can see, the lighting shows it's era as well as the counter tops. The floor was vinyl, stained glass in a cupboard door is colors from a definite era, and who has a wall phone with a cord anymore?


What nice changes! Beautiful granite, solid composite chocolate brown sink, can lighting on a rheostat so the mood can be set, Italian porcelain tile flooring with a pale slate look, small shelves on the end of the cabinet converted to wine rack, beautiful hand finished tile backsplash (with no phone!),


and stained glass changed to compliment fabric used on bar stool cushion
And the paint! It was changed from a blue green to Fog. Not grey, not blue, just soft.
 
The cabinets stayed, because the clients liked them, and they were quality.  They were just cleaned up and new more contemporary pulls installed.
 
The clients, who are into yoga and dance wanted a calm, almost Zen feel. Now they feel like they have it!


Wednesday, March 12, 2014

The head of the bed.

Sometimes when working on a design job, you walk into a room and it just says "Do this"
 This pretty little guest room was just that way.
  The client wanted to buy some upholstered headboards and a new window treatment.
  Her current bedspreads did the talking.
  She bought 2 more and we made the headboards and window treatment out of them and voila!
  Didn't they come out pretty?

Thursday, February 20, 2014

A Little Luxury

I am so excited about my latest drapery installation! It is so elegant, opulent, and appropriate for this historic Victorian home.  It almost gave me the giggles putting it in!  What do you think? Isn't it just yummy!

 
And to think it is only 8 1/2 inches tall! Yes, this lovely room is in a dollhouse.  The mother of all dollhouses!  I think it has 24 rooms! The owner started on it 35 years ago and is still adding to it, and I have had the privilege to contribute to it.
 
The draperies have over 40 hours in them, primarily because I had to make all the fringe myself.
 
 
That took forever!


Then the drapery silk was cut out, exactly to scale, and just as I would a full scale drapery.
 
 
The hems were put in the panels.
 
Heat bonded with 1/8" of bonding tape.
 
 
Then the lining was inserted. Yes, I have gone over the edge! I know you were wondering!
 
 
All the valance pieces were sewn with a very small stitch!
 
 
Then they were turned right side out and the trims attached.


After all pieces are constructed, they were folded into their desired look and attached to a board. Then all the extras were added.  I even made little Victorian cut work shades to insert under the treatment for night time privacy!
 
 
Then all was carefully packaged for transportation.
 
 
Delivered, installed and the room put back together!
 
 
Relax in luxury!


Tuesday, February 4, 2014

It is in the details.

It is the details that count.  It doesn't matter if it is a real house or a miniature house. The details are what gives it the finished look.  I like my miniatures to have the feeling that someone has actually been there.  I want it to seem real and tangible, so I like to put in "real life details.

 
Tasty treats for our honored guest.


Kitty is looking for the chipmunk.
 
 
Is that a doll on the step? Better watch where you are going.
 
 
Goodness me!  Doesn't that child put anything away?


It doesn't look like Grandpa is much better.
 
 
What a pretty little hand tatted doily.
 
 
Aren't the old stained glass windows in old homes nice?
 
Time to pull up a chair and listen to a story.
 
 
Grandma has the tea ready.
 
 
Don't forget to lock up and hang the key back up after everyone leaves this evening.
Hope you enjoyed the lovely tea party, and thanks for coming. 


Sunday, January 26, 2014

Our guest Mary Cassatt

I love art and Mary Cassatt did such lovely works that I have placed her as an honored guest on the front porch tea of an old friend and the old friend's granddaughter, who has a habit of leaving toys around. The friend has a couple of paintings done by Mary hanging on the outside wall of her parlor.

 
There is also a painting by Mary's friend, Degas, in the foyer by the front door.
 
 
There's Mary in the lovely wicker chair! And the little girl just can't get her chair up close enough to visit with her.
 
 
There are lots of goodies to tempt your taste buds.
 
 
Such a lovely garden to spend a nice day enjoying the fresh smells of spring.


This was such a fun project to do and all of my friends at club did their own porches.  All were so different and interesting.  I had the distinct honor to win a first place ribbon for a room box/vignette at the Indianapolis Miniature Show, as well as a Best of Show Award. What a wonderful surprise!


Wednesday, September 18, 2013

Sweet Rosettes

Rosettes are such a pretty embellishment to put on a window treatment, and so easy to make. I love doing them in silk, as they stand up nice and lovely.  Silk is so perfectly workable. So here is an easy "how to" to follow.
    Cut out two pieces of fabric about 8 1/2 inches wide by 17 inches long.

Fold in half, long way, and then stitch the edges together. Do this with both pieces.
 
 
Press flat with the seam centered on the back side. Your pieces should be about 4'' x 17"
 
Tuck in and press about  1/4"  at one end
 
 
Fold the short ends towards each other in the center of the back side and tuck the unfinished edge into the end that you have pressed in.
 
This should measure about 8" overall.  Next you will take a needle and thread and do a running 
 
stitch through all the layers just over where you have tucked the fabric in.
 
Put tight to gather the stitches and make 2 bow loops.  Do the same with the other piece.
 
Now you need to lay the two pieces crossing each other and tack together from the back side.
 
 
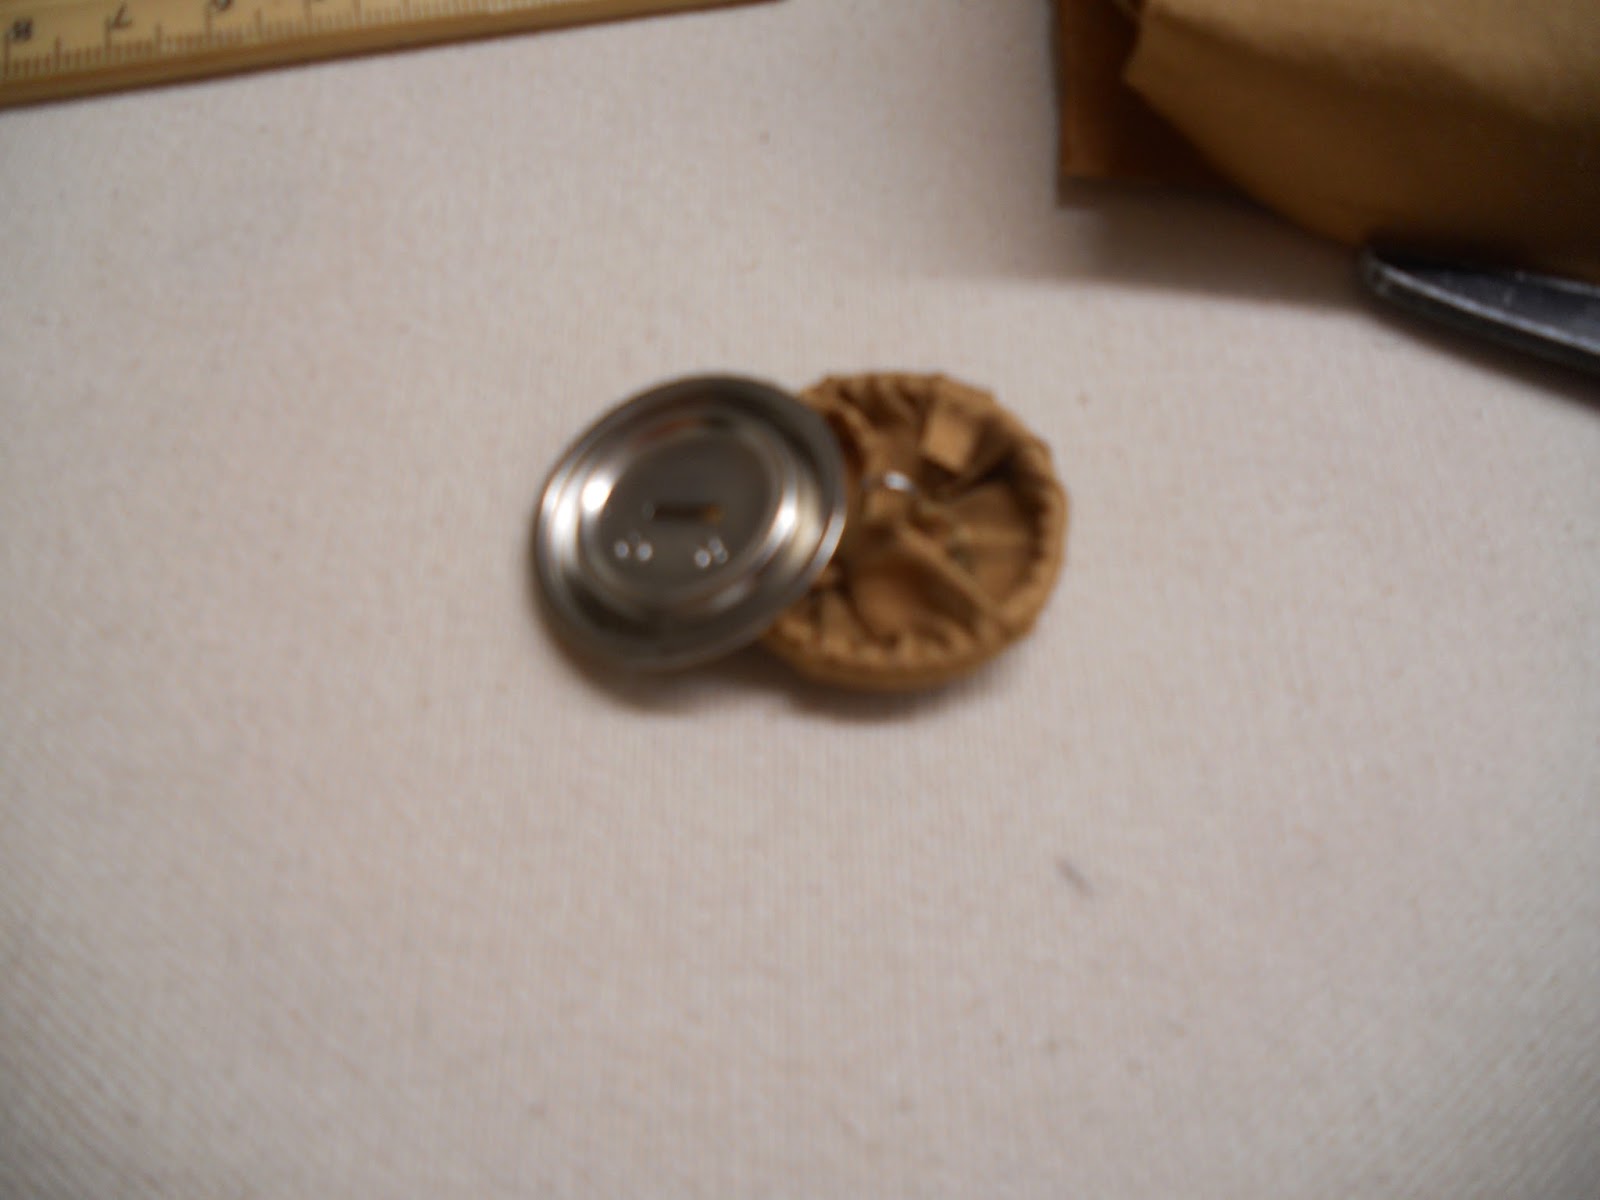
Now we are going to do a really fun covered button.  Use a button that you can cover that is about
 1 1/8" in diameter and cut a piece of fabric big enough to cover and wrap around the button.
 
Tuck the raw edges into  the prongs of the button to hold and then pop the back on it.
 
Next I took a piece of pretty bullion fringe and took it apart to use the cord it was made up of, but you can use any decorative cord you would like.
 
Now, cover the pretty side of the button completely with fabric tack glue.
 
Start with one end of the cord and place it in the center and start wrapping it around on the top of the button.  Be sure to press it down occasionally to make sure it st adhered to the button.
 
Keep going until the fabric is completely covered, then snip the end and glue it to the back side so that it doesn't fray.
 
Now you will stitch it to the front side of your rosette, right in the center where your 2 bows cross.
 
Next I add a drapery hook to the back with the point outside and the end that would normally hook onto a curtain rod just under the gathers of the back set of loops.
 
Turn your rosette over where you can see the pretty little thing and poof up the loops to make it pretty.
 
Now, hook  it onto your gorgeous window treatment!
 
Aren't you proud of yourself?!